Category: DIY
Thirty Three More Days!
Been so uninspired lately that I couldn’t even think of a proper title to this post blearrgh. I really wish I had more time to blog, but last semester is killing me and every free time I have is spent on running errands, booking last minute items like cake hantaran etc.
Which is why I’m so grateful that MOH, Umairah, and fiance took time off to throw us a mini DIY pre wedding shoot. #brokeassbride lah katakan hahaha. But sweetest couple ever, sayang korang!

The shoot was so impromptu that we both had barely any time to prepare anything. Luckily I managed to swing by Forever 21 to get this long vest/dress thingy to throw over my jeans and a flower crown from Bugis village. Helmi just threw on his fave white shirt, suspenders and a DIY boutonniere I made that morning. A quick tutorial is available below. All you need is some extra flowers lying around, safety pin, string and hot glue!

And, as some of you may already know, I’ve been having a terrible, terrible time dealing with my wedding card vendor. Despite their minor role in whole the process itself which is merely printing since I designed most of the card and map myself. This will be a tale for another time, so I will not be disclosing their identity for now. But I’ve FINALLY received them after almost 3 weeks of delay. Sneak peek nak tak??

LOVE LOVE THEM! At least they delivered quality, despite all the fuss. But it was an experience I never ever want to repeat. FULL STOP.
There are actually so many mooooar updates, including a sudden change in vendors (a.k.a jump ship) but just so little time to type. Will find time to update soon!
In Progress

Final stretch: putting items together and adding flowers. Need to finish this asap and end this painful year-long process!
DIY Map
As previously mentioned in my DIY list here, I am currently browsing through invitation card designs online, some of them being incredibly talented Etsy users who sell templates customised to our fancy and needs. This was originally thought and done by StripShidah, who did the same and then printed her cards at a local printing shop for as low as 40 cents per piece. I thought, what a genius plan to have a hand in your own invitation card process and save moolahs at the same time! I sukaaaa. And plus, it gives me an opportunity to customise my own envelopes which I have big, big plans for, but let’s keep that to another post shall we 🙂
I’ve pretty much decided which card design I want, but before sending the layout and content of the card to the seller, I realised that I still needed to craft a map of that included directions to Gurame, to be attached to the card. Takkan nak print screen dari Google Map kan (which I initially planned to but received disapproving looks from my mom) so I decided to make it more aesthetically appealing and user-friendly for my guests.
Using the print screen of the Google Map of the vicinity around my wedding venue, I pasted it onto a Powerpoint doc (because I can’t use Photoshop for nuts).

I used the drawing tool to trace and outline the major and minor roads leading to the venue, like so:

I started off with the expressway because it was straightforward, and pleasantly, it wasn’t as hard as I thought it would be. The tool is very simple to use, even for drawing curves. To make the road appear thicker, I increased the weight of the line to 10 pts.

I continued to trace the other roads and colour-coded them in order to show how they were individually drawn, like below:

Personally, the minor roads leading out from the expressway were the hardest to trace but the trick is just to zoom in closer into the map and trace slowly. Got the hang of it after a while! Once I was done outlining all the roads I wanted, I standardised the colour so that it looked like this:

To give the end of the road near Gurame a “finished” look, I changed the end of the line from “flat”…

… to “round”:

After that, I was just left with simple tasks like annotating the roads and labelling nearby landmarks. Once I was done customising the map to my desired colour palette, I deleted the original Google Map in the background and VOILA. Here’s the finished map!!

I still don’t quite believe I managed to pull it off actually, but hey, the drive to create a map that matches the rest of the wedding invitation really motivated me to finish it. Call me sanggup or whatever, but these details matter, and I’m quite sure there are other brides out there who also share my sentiments 🙂
Stretching the Holidays
Exams just ended, and that means loads of extra time to do up wedding stuffs yaww! I think some full time student brides and also Raudhah would share my sentiment, how it’s almost impossible to achieve any concrete wedding planning during the semester and so when it comes to the holidays, we really have to make full use of the time we have. And eff yeahhh I have around three months to do that yo! At least till the semester starts in late July.
And because my wedding is directly after my final exams, that means I only have the current semester break and another 1 month break in December to settle any major tasks and errands, leaving only the mandatory and unavoidable meet ups with the vendors and fittings to during my last semester. This also means that all the DIY projects I plan (berangan) to do should be done nowww. That brings me to this.
DIY Project List for May – July holidays:
- Handmade flower bouquet – Angan-angan nak hand-sew all the flowers but tengok lah mana jadinya
- Matching bridemaids bouquet – Ni kalau rajin ehh
- Hantaran / gift trays – Finally I get to DIY my own trays! And H said if I have time I could work on his too. Nyehehehe.
- Bridal room decor ideas – Okay this is highly ambitious hahahahaaa but let’s hope it happens!
- Invitation cards – I’m not going to be crazy and design my own card. I’ll leave that to professionals and purchase the design online. Only after that, I’ll do my own printing at a local printing shop and DIY the envelopes. I’ve set my eyes on the inspiration of doily paper envelopes but we’ll see!

Simple and classic. So excited to start on these! So far I’m working on the invitation cards first because I’ve recently gotten the information I needed from Gurame regarding the shuttle bus pick up points and timings etc so better start on it whilst the info is fresh la kan. Plus I’m in the process of crafting the map of Gurame that will be on the card and I swear it’s fun stuff to do!! Will craft a tutorial post soooon!
Lagi satu lah!
So a friend of mine, Idah, requested a red rose bouquet with pearls for her wedding this May. This time, I used artificial red velvet roses (mcm cupcake pulak) and I bought the pearls at Golden Dragon at People Park Centre, thanks to the tip from the DIY chifu Pretty Orkid! Tahu je tau lobang-lobang nak beli all these craft materials heh.
Okay, back to the story. I was ready to complete the classic bouquet look with a simplistic off-white satin material when Idah told me she wanted black ribbon on the off-white base on the stalk. Talk about colour clash! I was like, “Eh diek ni betul ke tak ni. Gothic per”. Sakit mataku memandang, as I was paying for the black ribbon. But I told myself, the pengantin will get what she wants if it makes her happy. So I added the black ribbon with a french braid pattern I learnt here, and VOILA! Works pulak!! I swear Idah has great taste! So here it is…
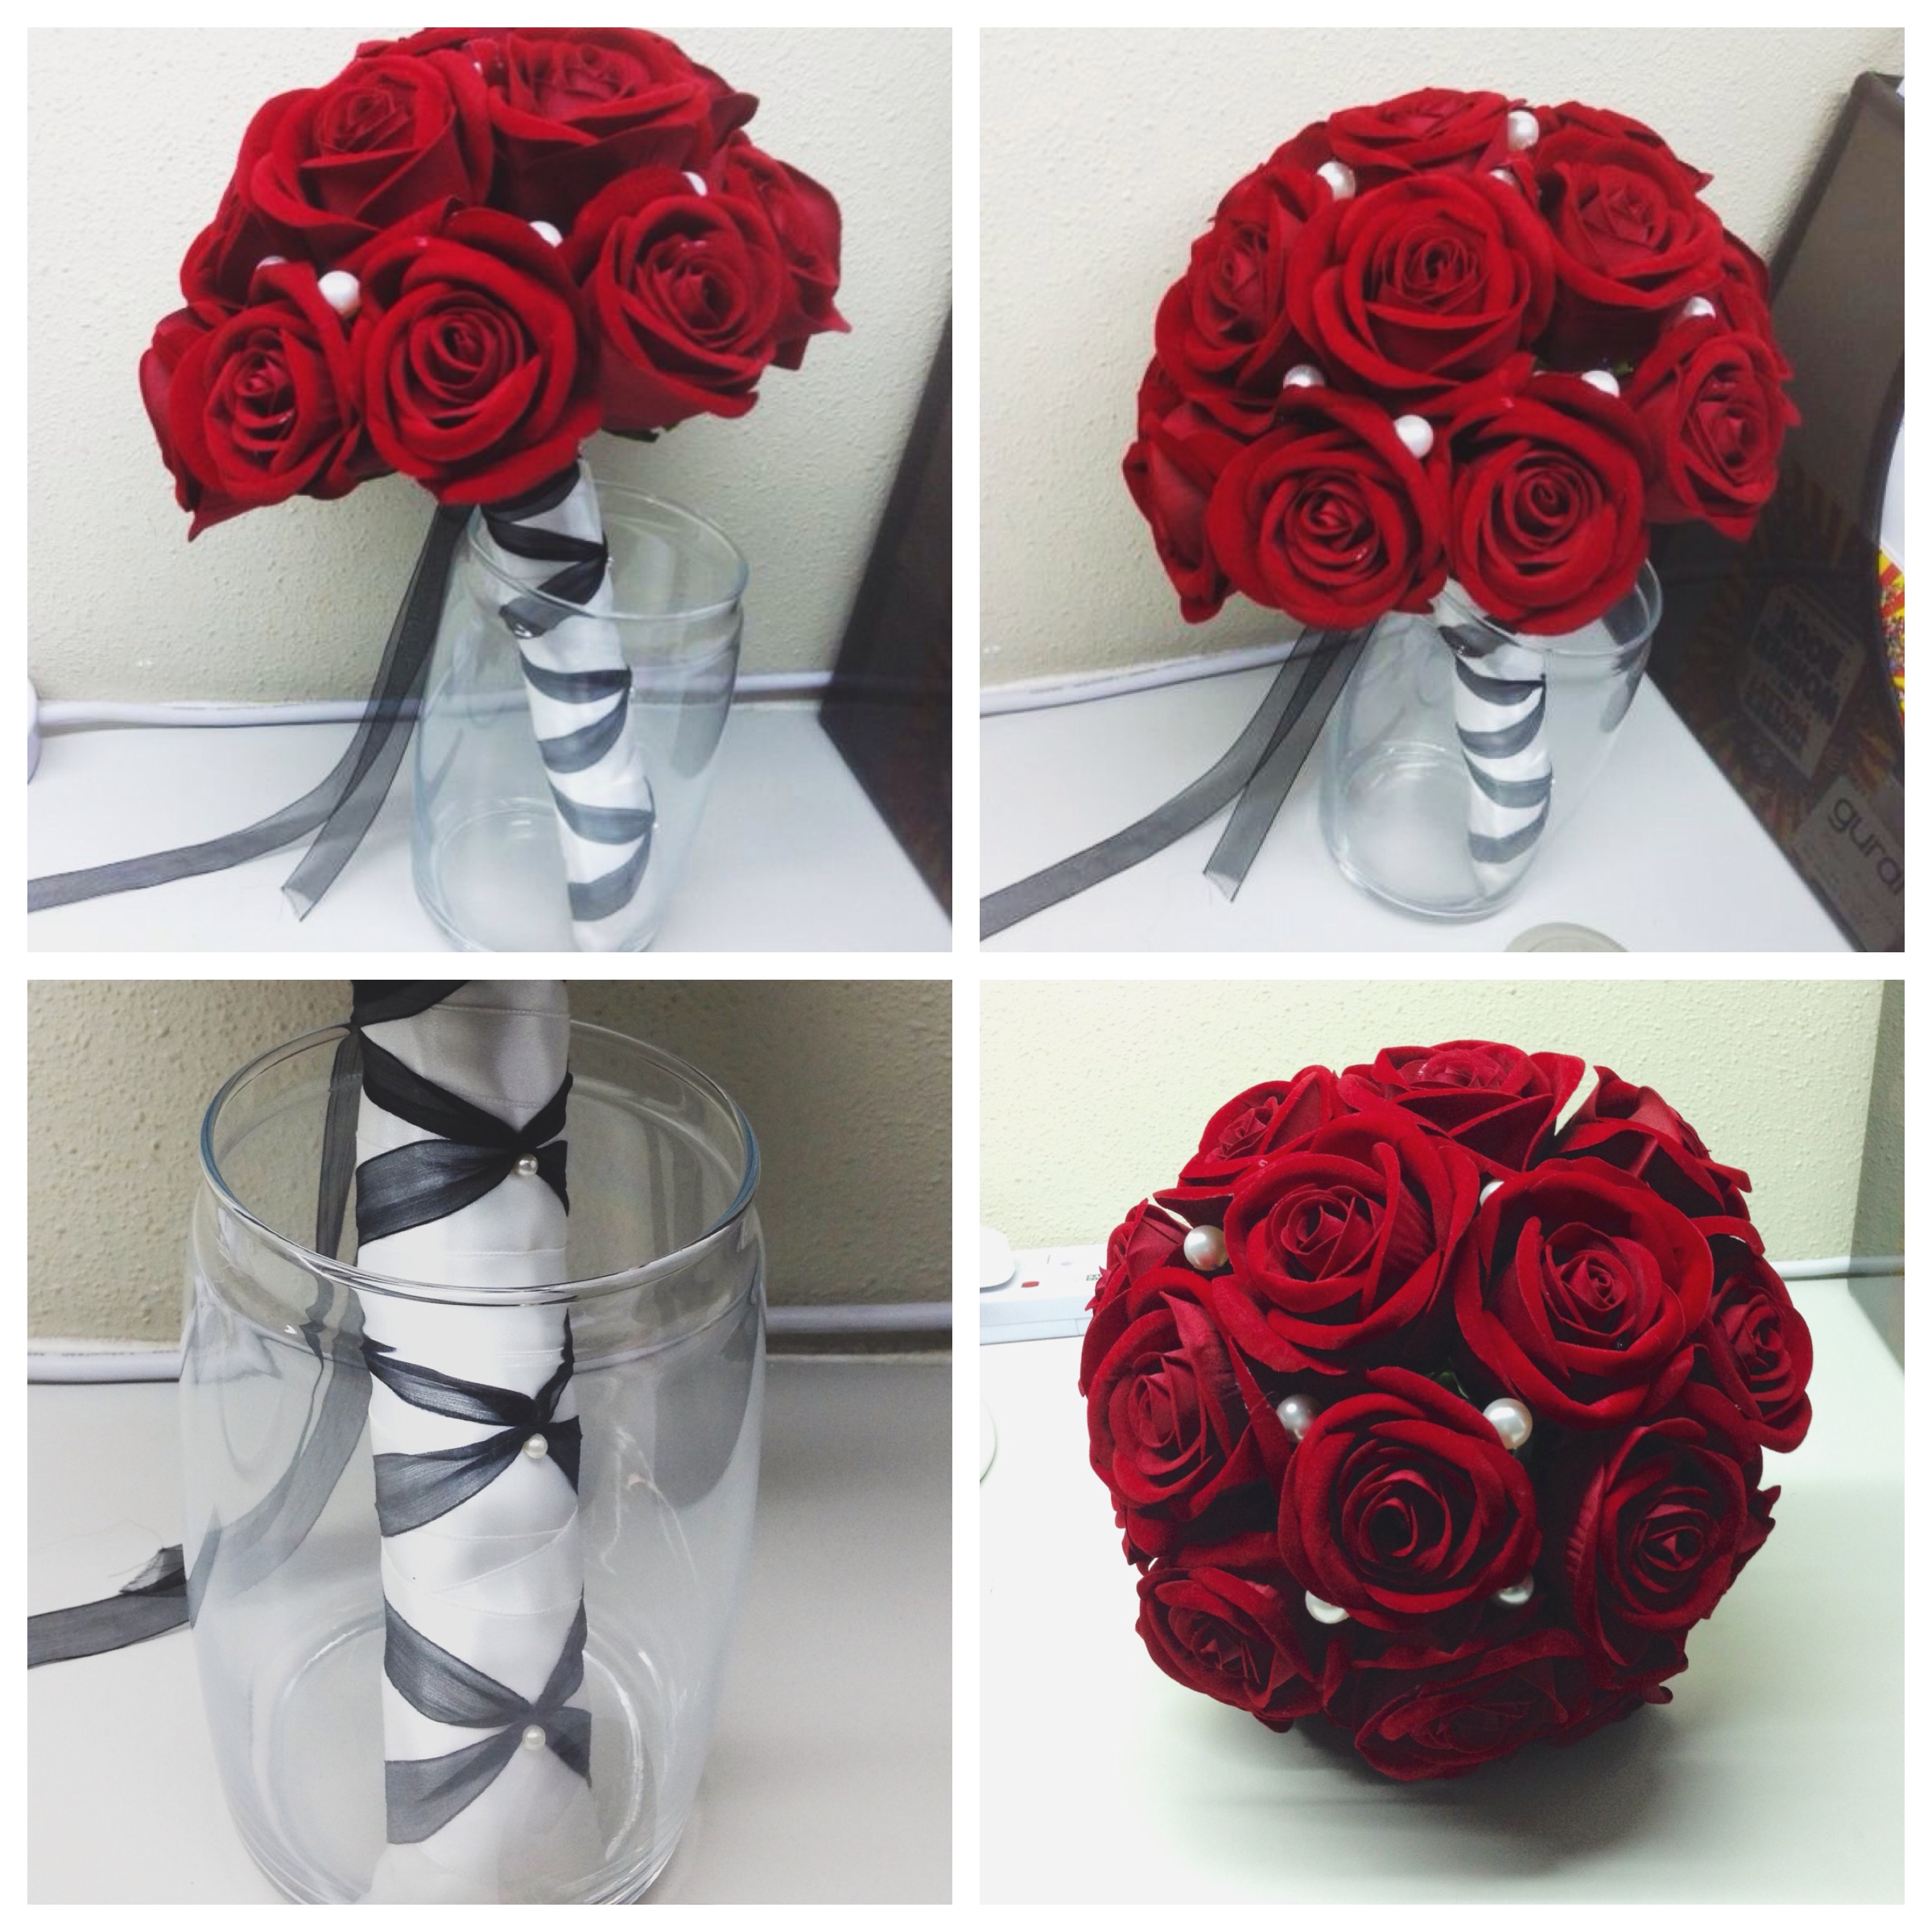 I found it really interesting how black somehow works with the off-white to compliment the blood red roses. Lesson learnt: step out of your comfort zone. Sometimes being BOLD is the way to go!
Inspiration: A “Not Too Shabby” Chic
Shabby chic is “a form of design of furniture are either chosen for their appearance of an antique. At the same time, a soft, opulent, yet cottage-style decor, often with an affected feel is emphasised to differentiate it from genuine period decor.”
It’s all about the cozy romantic feel, paying close attention to details like lace and tea-stained doilies, colours like pink, peach, ivory and grey mixed with natural woods and a rustic touch… I LIKE!!!

The hanging tea lights offers that extra romantic effect. Another case of “lawa tapi leceh”. Nak DIY tapi kesampaian ke tak ehh??

Details, details… even the cookies are vintage and shabby-licous!


Sometimes I wonder how these mak sallehs kuasa to zoom down to such small details, and some of them even DIY their entire decor. Kudos to them!! Here we can only dream of these novelties because most often than not, we are overshadowed by pepatah Mak-mak kita: “Orang datang nak tengok pengantin, bukan nak tengok decorations!!”
EH, dunia sekarang dah lain okay!!!! Jom kita prove all the makciks wrong! Buat decor lawa-lawa biar dorang tercenggang. Heh.
Okay back to assignments. Till next time lovelies!
